Introduction
Covers important tools used in this class, including git, GitHub, GitHub Classroom, Julia, and Pluto notebooks.
By the end of this module you have learned
how to download and install Julia and how to install packages
how to start, use and interact with Julia/Pluto notebooks
how git creates a file system and what commit, push, pull, and sync do
how to use a git work flow to collaborate with yourself across multiple computers and others
how to create ssh keys and use ssh
Slides and Lecture Notes
Thus section will contain a link to slides and notes shown in class.
Slides: SlidesPluto Notebooks
Most languages have a notebook environment. For example, Observable.js for Javascript, Jupyter for Julia, Python, and R, MATLAB live for MATLAB. The notebook model was pioneered by Mathematica and Maple and provide programmers a way to intersperse code with markup, add interactive UI elements, and show off code in a format more interesting than text files.
Pluto.jl provides a reactive notebook environment specific to Julia.
![]()
Pluto Quickstart
Open Julia REPL:
[petters@dev ~]$ julia
               _
   _       _ _(_)_     |  Documentation: https://docs.julialang.org
  (_)     | (_) (_)    |
   _ _   _| |_  __ _   |  Type "?" for help, "]?" for Pkg help.
  | | | | | | |/ _` |  |
  | | |_| | | | (_| |  |  Version 1.10.5 (2024-08-27)
 _/ |\__'_|_|_|\__'_|  |  Official https://julialang.org/ release
|__/                   |

julia>
Installing Pluto (only need to do this once):
julia> ] add PlutoStarting the Pluto Server:
julia> using Pluto

julia> Pluto.run()
┌ Info:
└ Opening http://localhost:1234/?secret=MrGlCAQ1 in your default browser... ~ have fun!
┌ Info:
│ Press Ctrl+C in this terminal to stop Pluto
Opening the link in the browser - which should be automatic - will bring up the following page:

To get back to this page from an opened notebook, click the Pluto.jl icon in the top navigation bar.
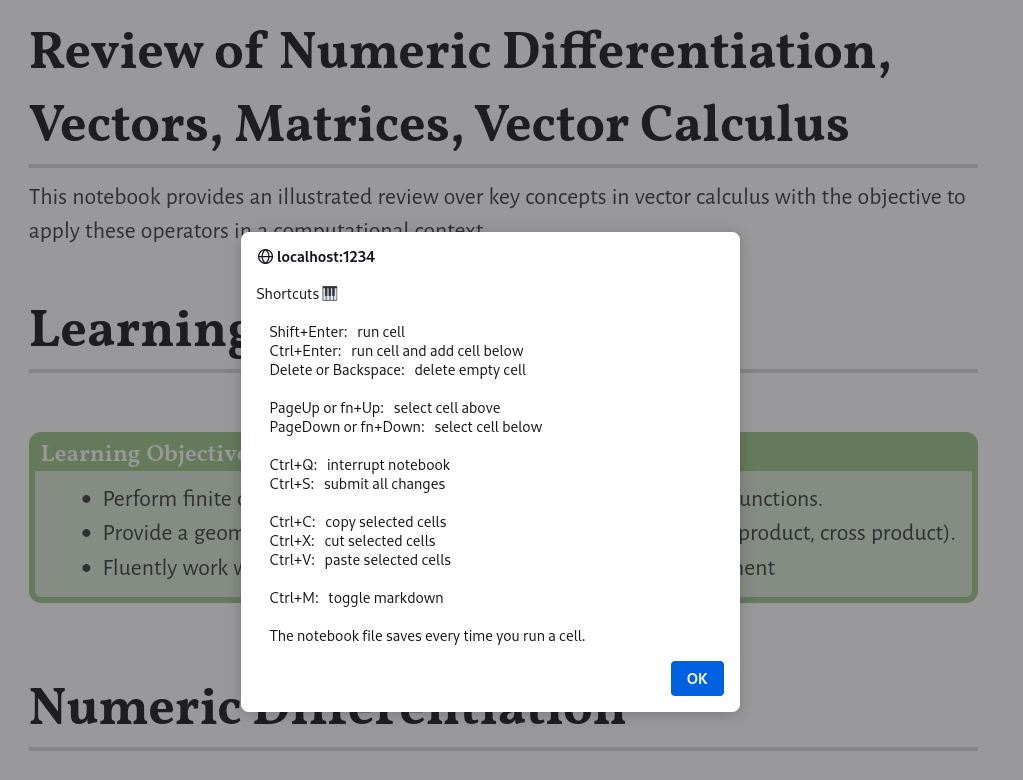
Open an existing notebook or create a new notebook. Press CTRL + ? to view keyboard shortcuts:
Key Points about Pluto
Your Code is Reactive.
When you change a variable, that change gets propagated through all cells which reference that variable.
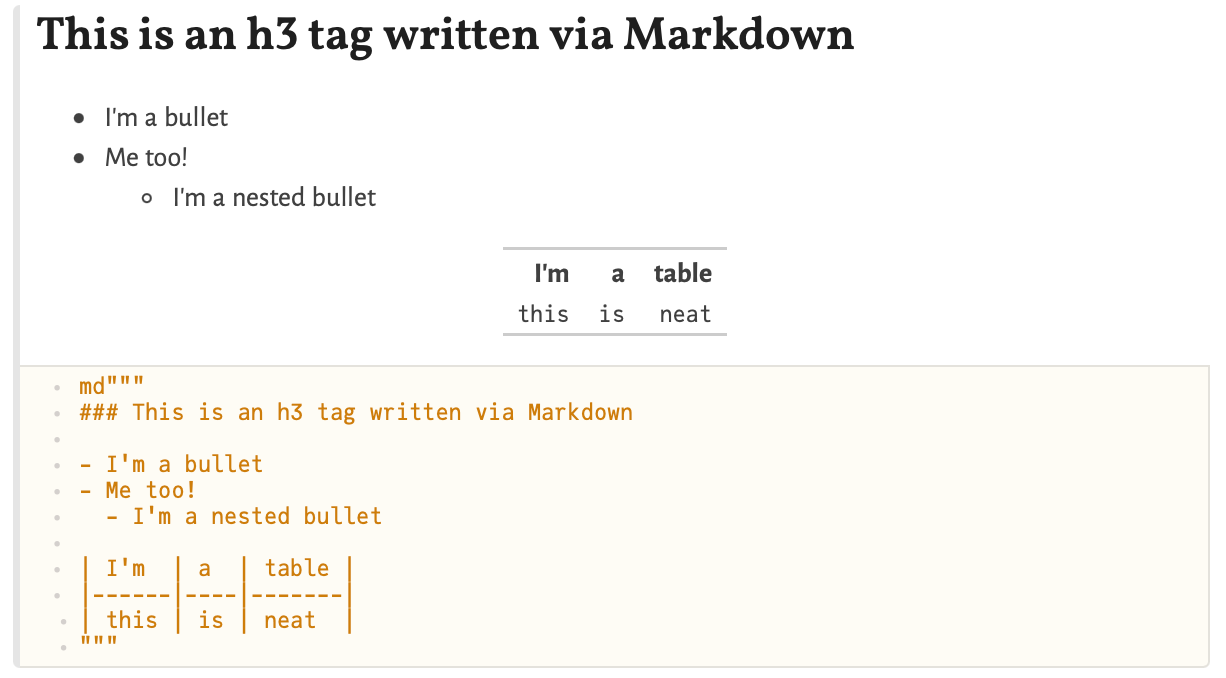
Returned Values will render as HTML.
Text with a markdown string macro (md) will look nice. Note that output gets displayed above the code.
Code can be Hidden.
Click the eye icon on the top left of a cell to hide the code. It only appears if your cursor is hovering over the cell.

Notes, Tips, and Tricks
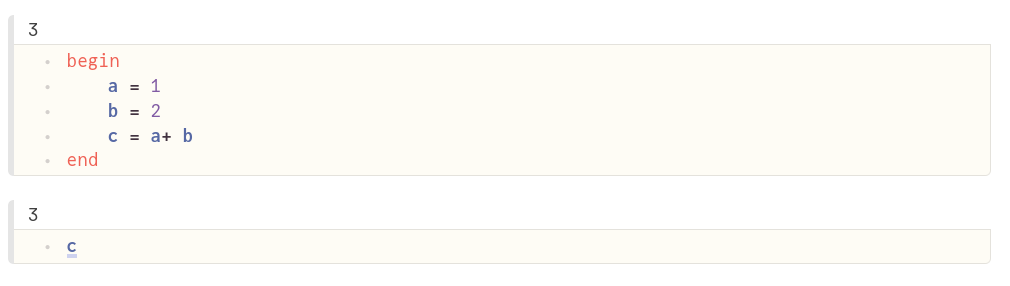
Multiple Expressions
Pluto will try to get you to split multiple expressions into multiple cells (You can also put multiple expressions in a begin-end block). This helps Pluto manage the dependencies between cells and avoids unnecessary re-running of code that "reacts" to something it doesn't need to.
Immutable State
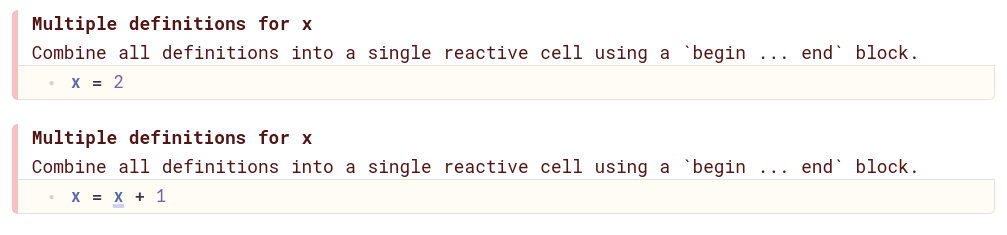
Because Pluto.jl is reactive, once a variable is assigned, it cannot be assigned again (sort of). In older Pluto.jl versions, the second assignment threw an error. In the current version, Pluto will disable the previous cell. Suffice to say, you cannot/should not have multiple assignments to the same variable.

In many ways this is a good thing. It makes it easier to reason about the code. For example, if we declared x = 5 then x equals five in the entire notebook. However, this is a departure from how many think about computing, and differs from "regular" Julia/MATLAB/R code where this is allowed. It makes it particularly difficult/impossible to implement algorithms that increment variables, e.g, x = x + 1. If you write code like this you will have an easier time using the standard IDE.
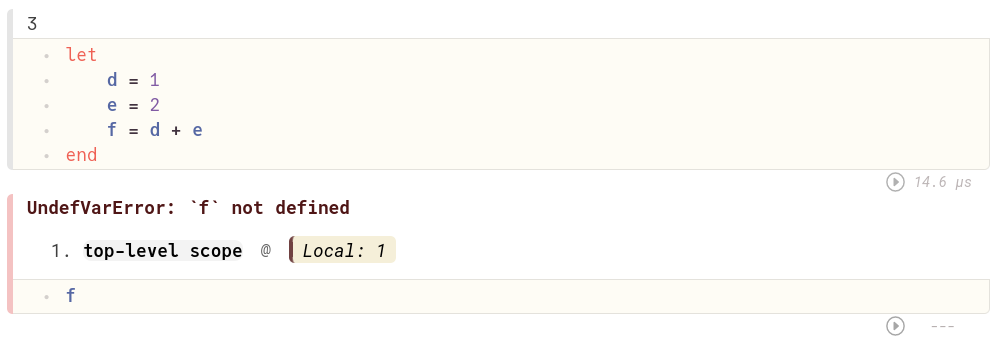
Global and Local Scope
Associated with the immutable state of variables is their global scope. Once the assignment statement is made, the variable name is taken for the entire notebook.
For educational purposes we often may want to reuse x multiple times in the notebook. Item wrapped in a let ... end block are local scope and freed at the end of the block. In the example below, f is evaluated (and available) inside the let ... end block, but seizes to exist afterwards. Thus the variables inside the let ... end block are local scope.
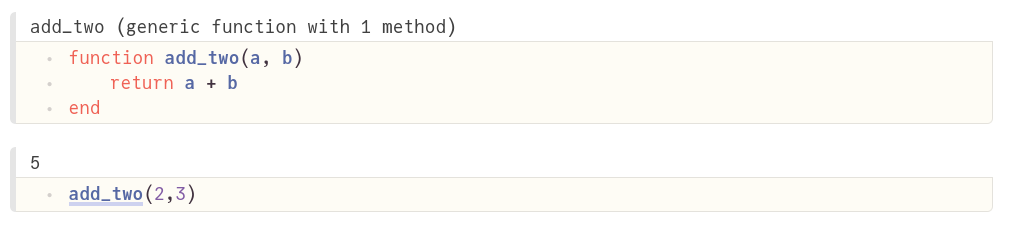
Variables inside functions are, per usual, local scope. In the example below, a and b refer to the local definition inside the function. They are locally scoped.
Pluto Package Manager
Each notebook has it's own package configuration. Pluto.jl will download the packages and manage dependencies. They are thus a mostly "one-click" deployment. In contrast, local installs require you to manually add the packages to the local environment. Packages are best declared at the beginning of the notebook in a begin ... end block. The check mark indicates that the package is downloaded and compiled.

You can learn more about Pluto's package management system here.
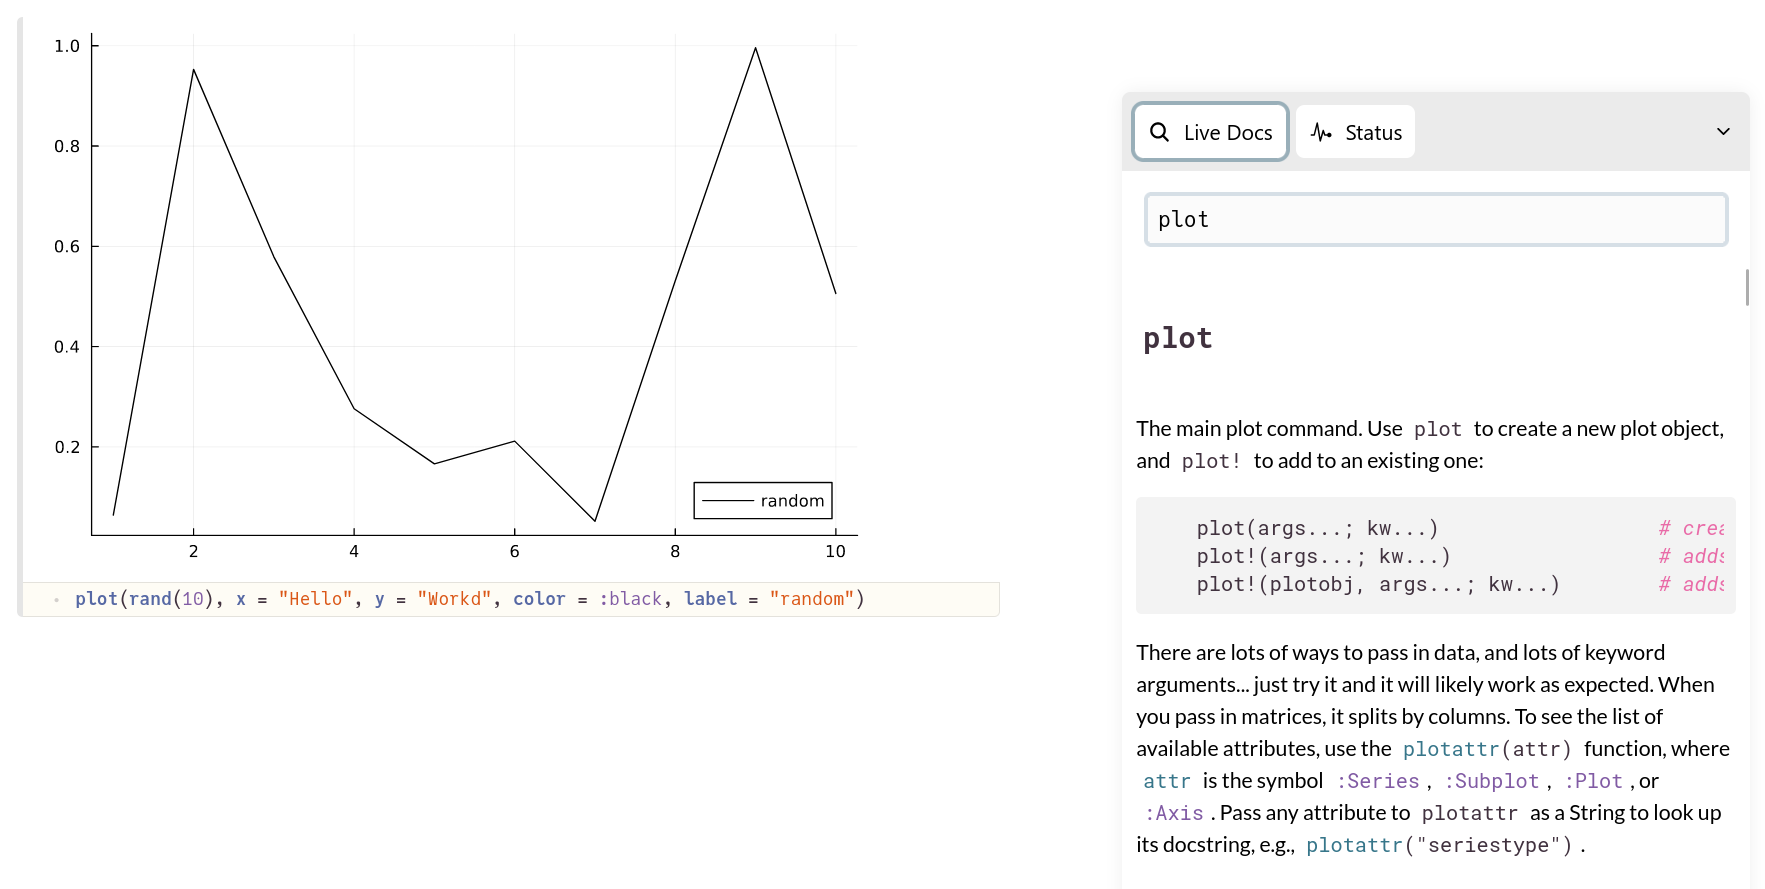
Documentation
Pluto.jl has a documentation tool built in. It displays the standard doc strings provided by a package or the language.
Notebooks
Pluto.jl notebooks are the main "text" used for this course. One or more notebooks for each module will be posted under this heading. The link is to a html version of the notebook. Those are for display only and do not contain any interactive elements. There is a link in the top right of the html version called Edit or run this notebook that allows you to download the notebook. The link will provide instructions on how to run it. I do not recommend the binder approach, but to download and execute it on your own computer. This way you can save your changes as needed.

Homework
This section contains links to homework assignments. The link is password protected to ensure that only students enrolled in the course submit homework. Once you accept, please associate your GitHub account with your name in GitHub classroom. You only need to do this once.